Customize branding and set up white-labeling in Nylas
Nylas provides a login page for Hosted Authentication that displays the Nylas logo to tell the user who is requesting access to their account. If the user isn't expecting the Nylas logo or domain, however, they might cancel the auth process.
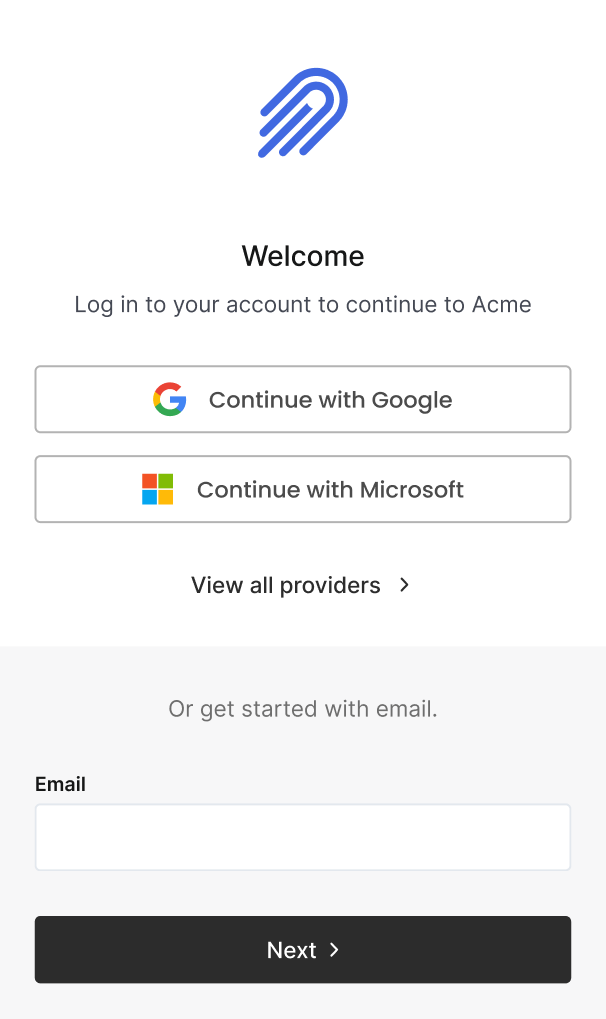
Any Nylas admin can add their brand logo to their user auth screens for each application, so users see your company's branding instead of the Nylas logo.
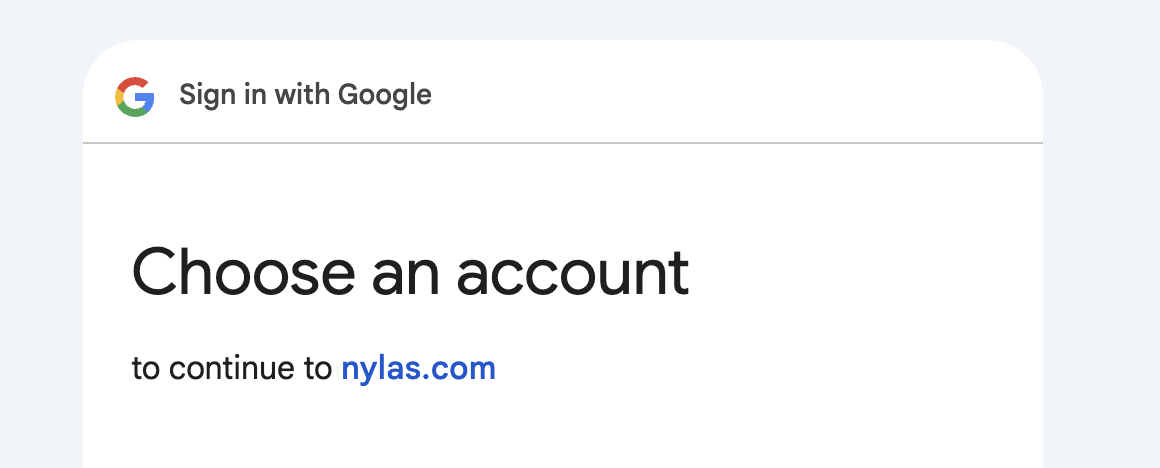
The Nylas domain (nylas.com) might still appear during the OAuth process. More white-labeling features are available to further customize the auth experience, and prevent the Nylas domain from appearing in the process. If you're on a paid tier that includes it, you can replace these by white-labeling your Hosted OAuth domain.
Add your branding to Hosted OAuth
You can upload your own brand logo or icon for the user-facing Hosted OAuth page so it replaces the Nylas logo. Branding settings are unique to each Nylas application.
You can change the logo using either the Nylas Dashboard or the Nylas APIs.
🔍 The icon you use must be a PNG, JPG, or TIF file with a maximum size of 1MB. Nylas automatically resizes the logo to 72x72 pixels, so it's recommended you use a square image.
Add branding using Nylas Dashboard
To upload a logo for the Hosted Auth login page, navigate to your application in the Nylas Dashboard and select Hosted authentication in the left navigation. Then, enter a link to your logo in the Icon URL field.
Add branding using Nylas API
Make an Update Application request that includes the branding.icon_url parameter.
curl --request PATCH \
  --url 'https://api.us.nylas.com/v3/applications' \
  --header 'Content-Type: application/json' \
  --header 'Accept: application/json, application/gzip' \
  --header 'Authorization: Bearer <NYLAS_API_KEY>' \
  --data '{
    "branding": {
      "icon_url": "www.example.com/nylas-logo.png"
    }
  }'
Replace Nylas domain using custom white-labeling
By default, Nylas uses the nylas.com domain in the OAuth process, even if you replace the Nylas logo. If users don't expect to see "Nylas" during authentication, they might stop the process on security grounds.
To prevent this, you can set up a white-labeled domain so your own domain appears instead during the auth process.
- Subscribe to a Nylas plan that includes white-labeling, or select it as an add-on.
- Add your logo to the Hosted Auth page.
- Set up a CNAME record for authentication.
- Contact Nylas Support to activate your domain.
- Update your provider auth apps to allow authentication from your CNAME record address.
Set up a CNAME record
To enable authentication through your custom domain, you need to create a CNAME record in your DNS settings. Be sure to choose the subdomain you want to use for the auth process (for example, auth.example.com) and point the CNAME record to <DOMAIN>-auth.us.nylas.com. This is where you start user auth requests. For users authenticating using a web browser, this URL might be displayed in the address bar, so make sure your domain is clearly included.
💡 Make sure to test the DNS settings for your CNAME record before you use it in Production. If it's not set up properly, your users won't be able to use your auth flow.
After you set up your CNAME record, you can contact Nylas Support to activate your domain.
Update provider auth apps
Now that you have a CNAME record, you need to add the URL to your provider auth apps as an allowed redirect URI. You can either make this an additional URI, or use it to replace the Nylas redirect URI. For example, you might have api.us.nylas.com/v3/connect/callback configured as a redirect URI, and replace it with <DOMAIN>-auth.us.nylas.com/v3/connect/callback.
- Google auth apps: Log in to the GCP portal, select Credentials in the left navigation, and update the appropriate credential record.
- Azure auth apps: Log in to the Microsoft Azure portal, search for App registrations, navigate to the resulting page, and update the Redirect URI.
Using white-labeled auth
After you set up and enable white-labeled authentication, you can access the Hosted Auth flow using the same API methods — you just need to replace the Nylas API route with your custom domain.
For example, you might have a URL to start authentication that looks like this: https://api.us.nylas.com/v3/connect/auth?client_id=<NYLAS_CLIENT_ID>&redirect_uri=<https://myapp.example.com/callback-handler>&response_type=code&provider=google. Using white-labeled authentication, it would resemble https://<DOMAIN>-auth.us.nylas.com/v3/connect/auth?client_id=<NYLAS_CLIENT_ID>&redirect_uri=<https://myapp.example.com/callback-handler>&response_type=code&provider=google instead.